
Vegetable gardening
How to Use Compost in a Vegetable Garden
Finished compost connects your kitchen-scrap routine to your next vegetable bed. Start with mature material, measure the area you want to improve, and let your soil guide how much you add.
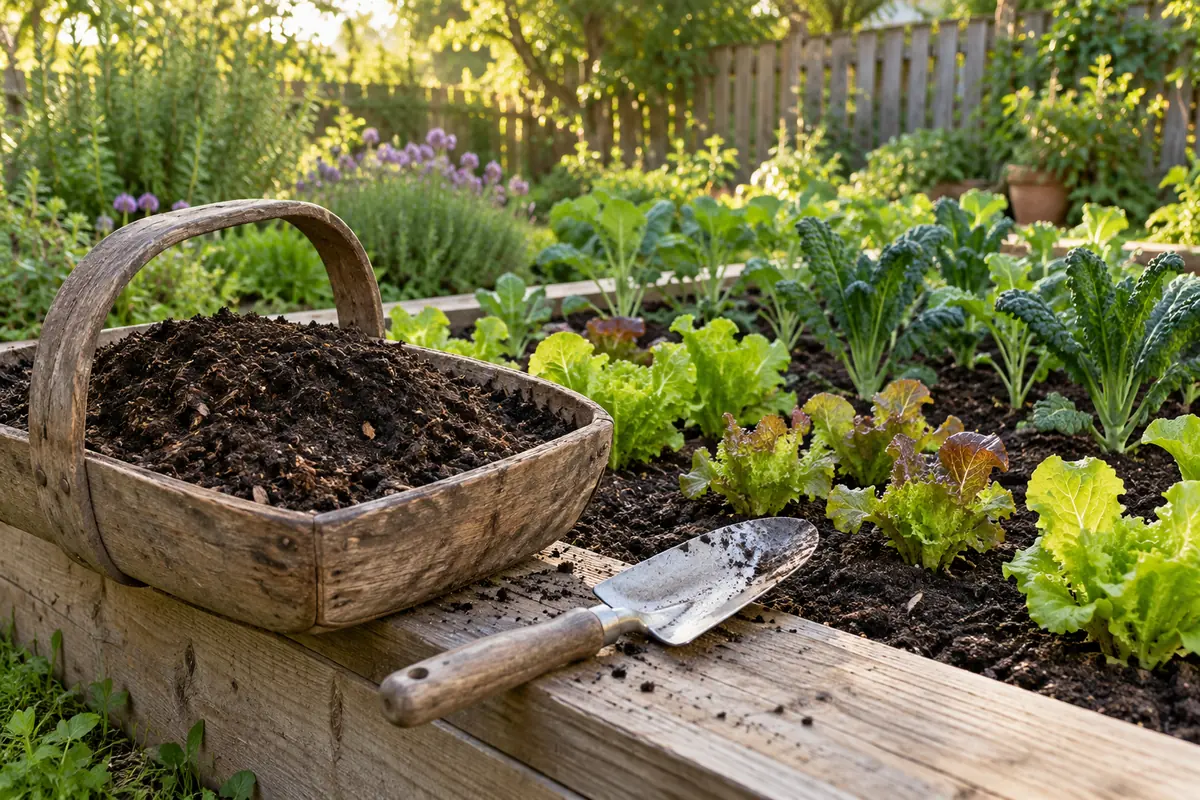
1. Check that your compost is ready
Use finished compost rather than a fresh batch of kitchen scraps. Look for a loose, dark material with an earthy smell, and check for recognizable food pieces. The EPA’s home composting guidance recommends at least four weeks of curing after a mixed pile stops reheating and visible food scraps have disappeared.
Keep that curing batch separate from new additions. Return large undecomposed pieces to the active bin, and remove plastic or other litter before taking material to the garden. If your pile smells sour or strongly unpleasant, work through our compost odor checklist first.
2. Decide how much compost your vegetable bed needs
Test the soil before making compost an automatic annual addition. A lab report helps you decide whether to add material and what other nutrients your vegetables need. University of Minnesota Extension suggests about a half-inch surface layer of non-manure food-scrap or yard-waste compost for vegetable and flower gardens, while emphasizing soil testing.
That is a reference amount, not a requirement for every bed. An established garden that has received compost for years needs a different decision from a newly prepared growing area. Record previous additions alongside your soil report so you can compare seasons.
3. Measure the bed before carrying compost outside
For a rectangular bed, calculate the volume in cubic feet as length in feet × width in feet × compost depth in inches ÷ 12. Measure only the area you intend to treat. These examples show volume, not a prescription to apply that depth:
| Layer depth | Volume | Approximate liters |
|---|---|---|
| ¼ inch | 0.67 cu ft | 19 L |
| ½ inch | 1.33 cu ft | 38 L |
| 1 inch | 2.67 cu ft | 76 L |
Use a container of known volume to portion out what you need. Mark one bed on a garden sketch, note the planned depth, and cross it off when finished. This makes it easier to avoid treating the same patch twice.
4. Match the application to your garden setup
Spread a measured amount evenly across the planting area rather than dumping the whole batch into one hole. For existing vegetable beds, Oregon State University Extension describes an annual range of ¼ to 1 inch, with amendments guided by a soil test. Its preparation method mixes the material into the upper 8–12 inches of soil before planting.
If you garden with an established no-dig method, keep the soil test and measured amount central to your plan, and follow local guidance on surface application. Choose a maintenance method you can repeat and record what you actually used.
For a newly filled raised bed, use a suitable soil blend. OSU specifically advises against filling framed raised beds with compost alone. Compost is an amendment; it does not automatically supply a balanced growing medium or all the fertilizer a crop will need.
5. Avoid adding more just because you have it
A full compost bin does not mean every vegetable bed needs another layer. University of Minnesota Extension’s guidance on excess compost explains that repeated heavy applications can lead to nutrient accumulation and other soil problems. More material is not always a better growing environment.
Before you empty the next batch, ask three questions: Is it mature? Does this bed need it? How much did I already add? Keep active compost, curing compost and material ready for the garden clearly separated in your own routine.
Questions about using compost in a vegetable garden
Can I plant vegetables in pure compost?
Use a suitable soil blend for a raised bed rather than compost alone. See the OSU guidance linked above for the difference between improving an existing bed and filling a new one.
Does a dark color mean compost is finished?
Color is only one clue. Review smell, remaining food pieces, reheating and curing together. A newly mixed dark pile still needs observation before it moves into your growing area.
Where should I start if I do not have compost yet?
Read how to start backyard composting, then keep our greens and browns guide nearby for routine additions. You can also explore an upright compost bin to understand the footprint and access points of a backyard setup.
A useful first step is to make a one-page bed record: dimensions, soil-test date, compost amount and planting notes. That connects the compost you make with the place you eventually use it.
Written for ordinary outdoor home composting. Ingredient guidance and timing can vary with your climate and setup; linked public resources provide further detail.